
In Part 1 of this series we learned how to spin up our own Azure Key Vault and store a PSCredential Object in it. We also checked out how to get those credentials back out and use them in our regular scripts.
Today, we’re going to figure out how we can integrate our Key Vault into Azure Functions and make use of our credentials there.
Before we continue, make sure you’ve followed through the demo in Part 1 or just understand that I’ll be reusing Azure resources from that demo without mentioning how to create them here.
Creating Our Function
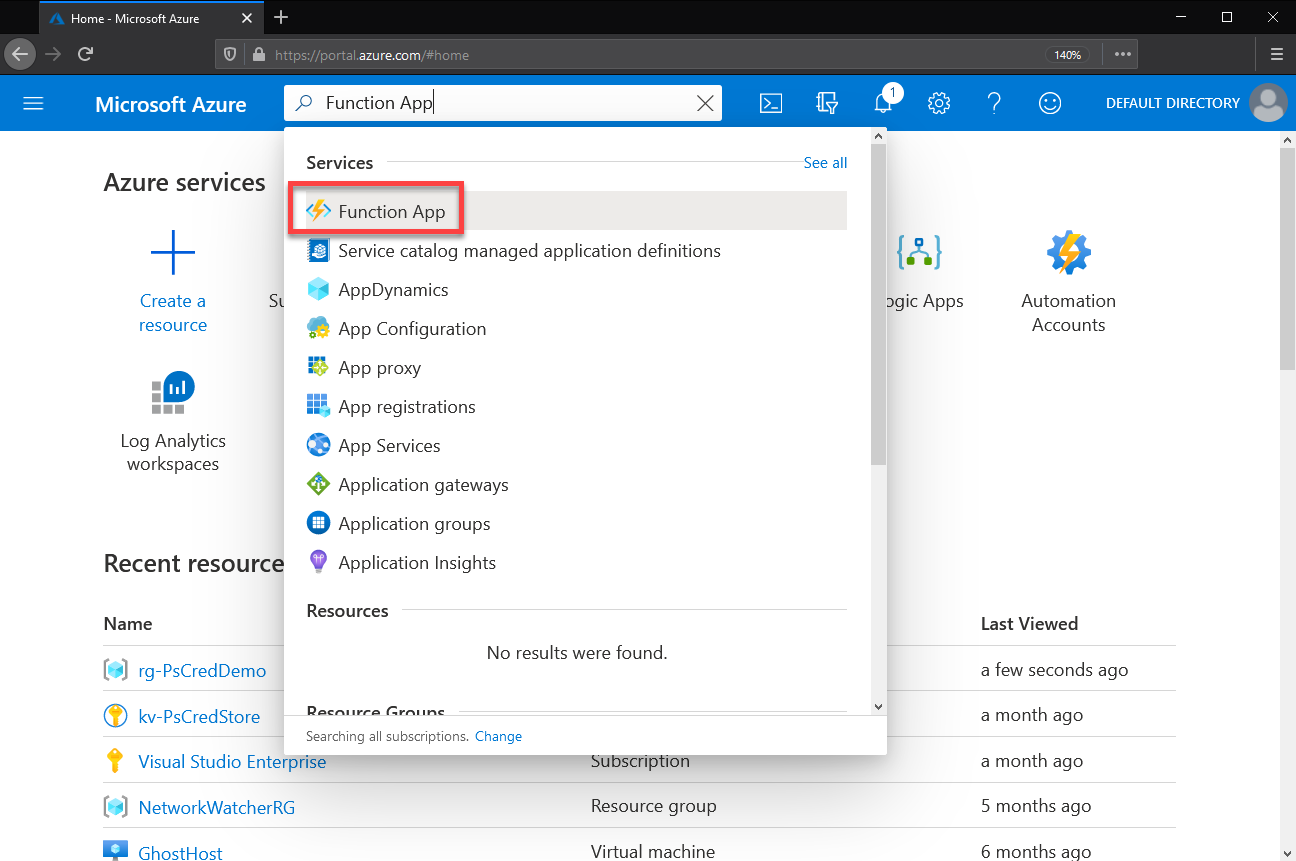
To start head over to the Azure Portal, and search for “Function App”. Choose that from the list of services.
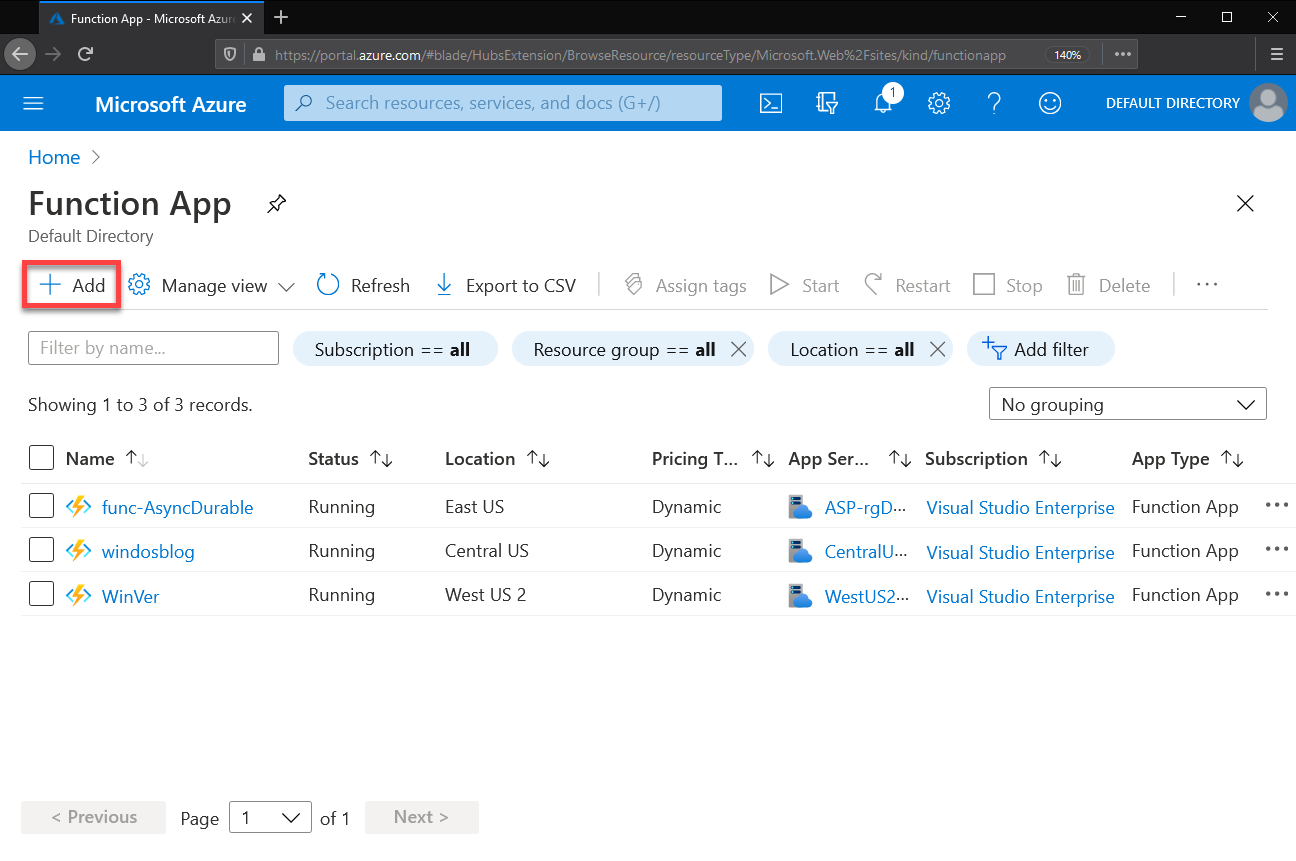
If you already have functions, you’ll see them listed. We’ll click the Add button to create a new one, though.
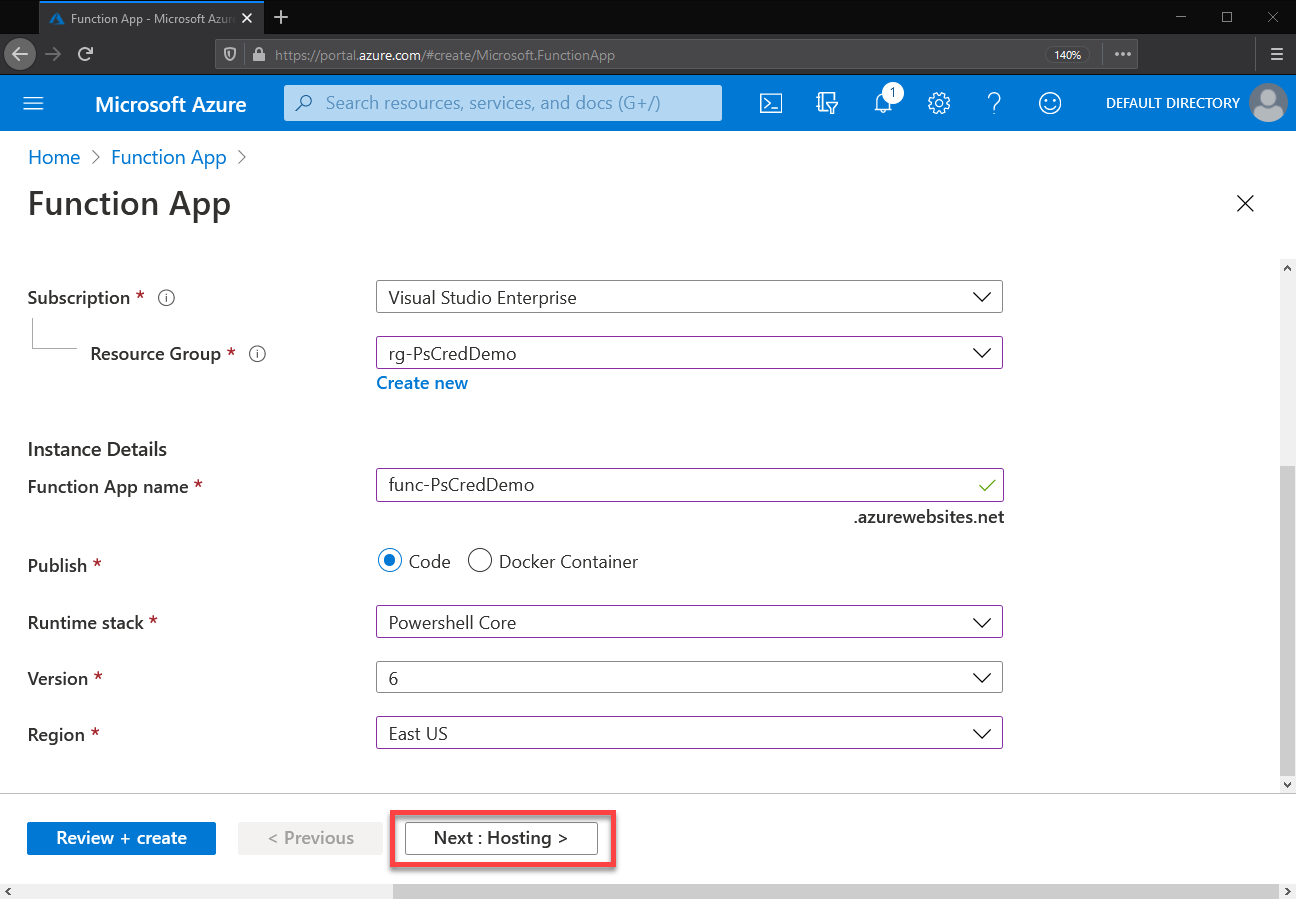
The first page you’ll need to fill out is all the “basic” information about it. You’ll need to choose a resource group, for this demo we’ll use the rg-PsCredDemo group that we created for our Key Vault in part 1.
You also need to give it a name, you won’t be able to copy mine directly as it needs to be globally unique across all of Azure.
The final choices on this page are the runtime stack, which will be PowerShell Core, version, and region. Your only choice for version is 6, here’s hoping got PowerShell 7 support soon. I’m matching my regions to everything created in part 1.
Once you’re happy with your settings here, click next to head to the “hosting” options.
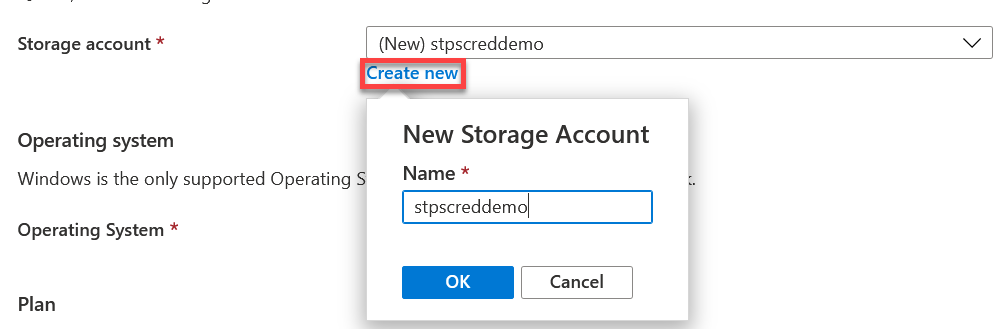
The hosting options are where any costs associated with this function will be incurred. Firstly you’ll need a Storage account to store the various files that make up your function. We haven’t made one yet, so I’ll add a new one.
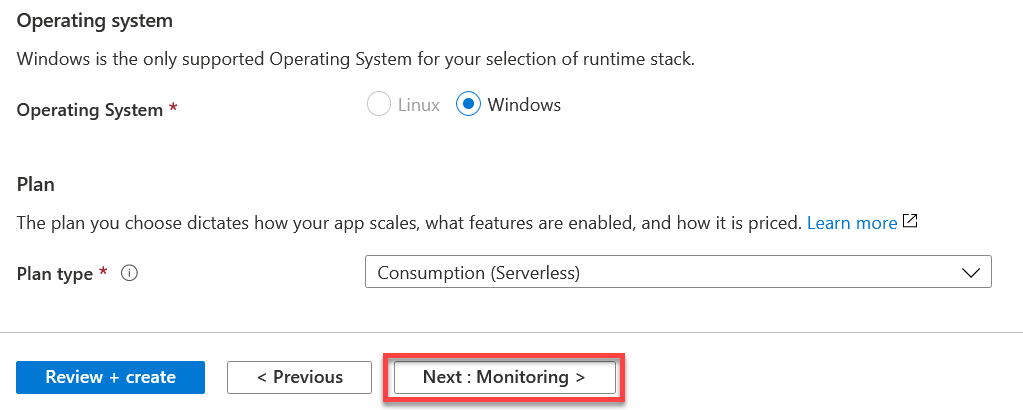
You’ll notice an option to choose an operating system. Unfortunately, PowerShell functions are only supported on Windows at the moment so there’s nothing to set here.
Finally, choose your plan. I’m leaving mine on “Consumption (Serverless)” as for what we’re doing it’s cheaper (or most likely free.) If you’re expecting very high usage of your function, or you know you need the more premium features, you might want to consider the other plans… but if you’re unsure just stick to consumption.
When happy, click next.
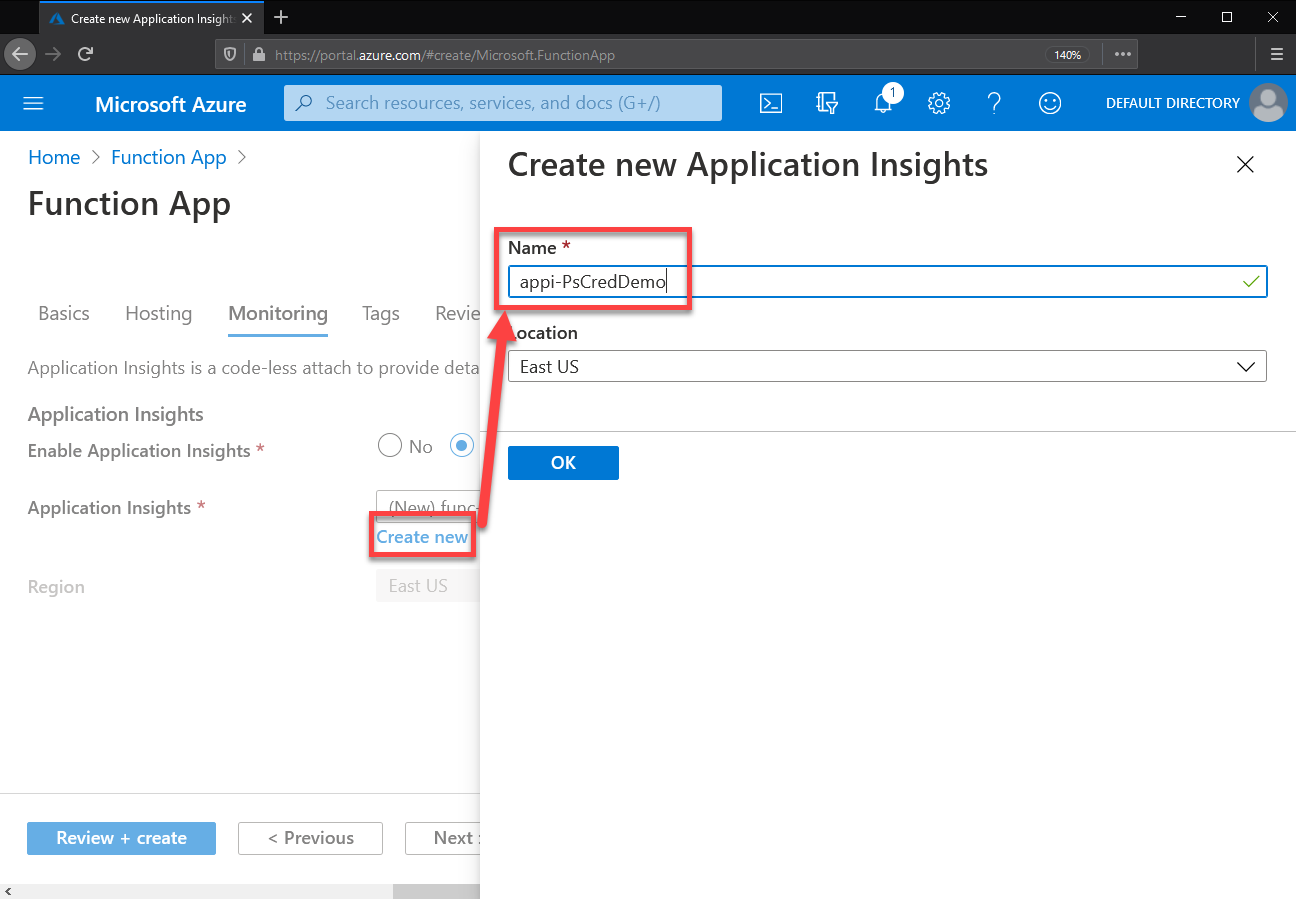
In order to better see what’s happening when we run out function, I am going to be turning on Application Insights. There is a small cost to this, but I almost always turn it on so it’s invaluable when troubleshooting.
It will suggest a new for your Application Insights instance, but if you want to control it, click “Create new” to open up a blade where you can provide your own details.
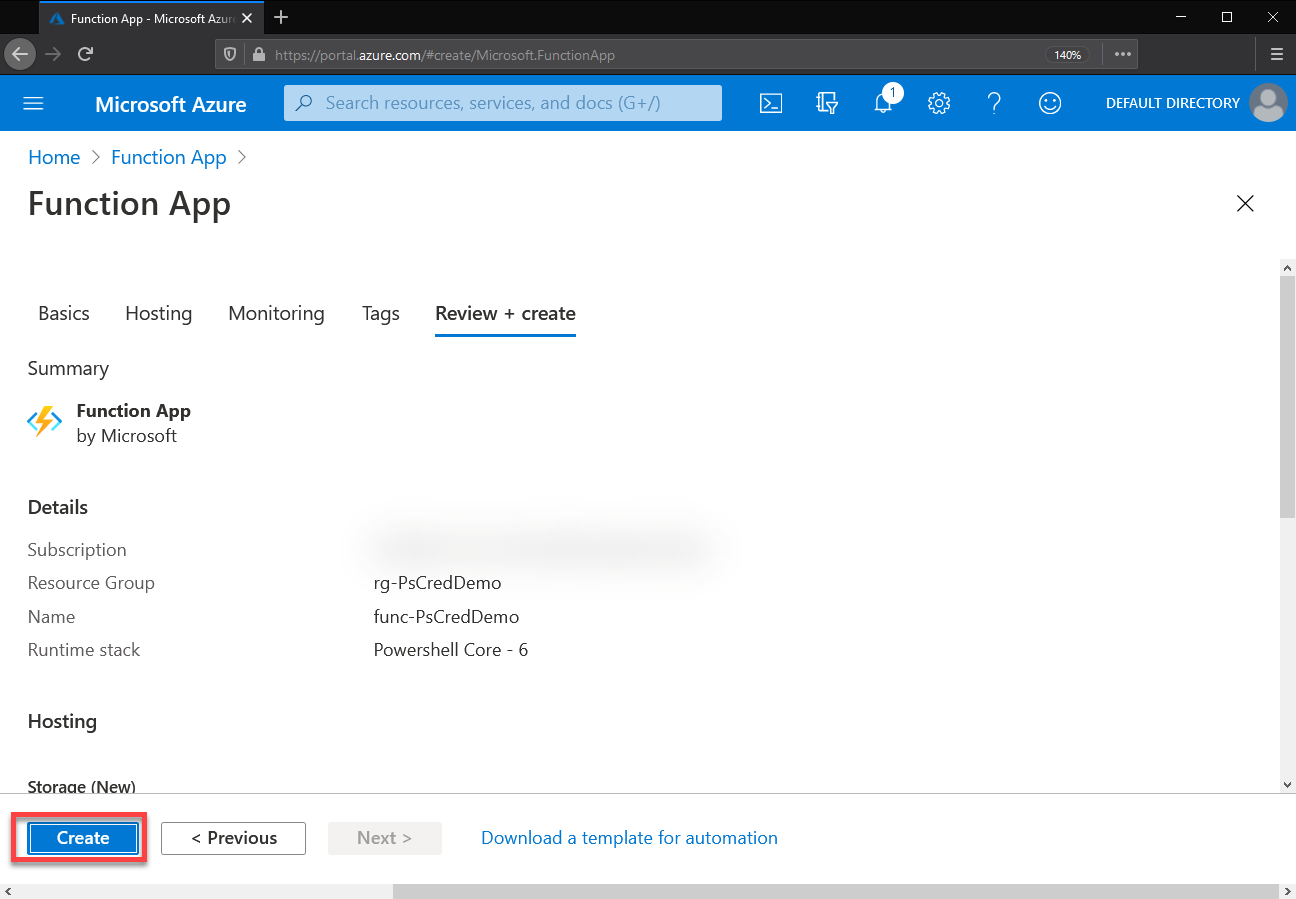
If you’re using tags to categorize things in your Azure tenant click the next button to set those, otherwise skip straight to the end by clicking “Review + create”
Have a read of this final page, it your last chance to go back and make adjustments. When you’re ready click Create.
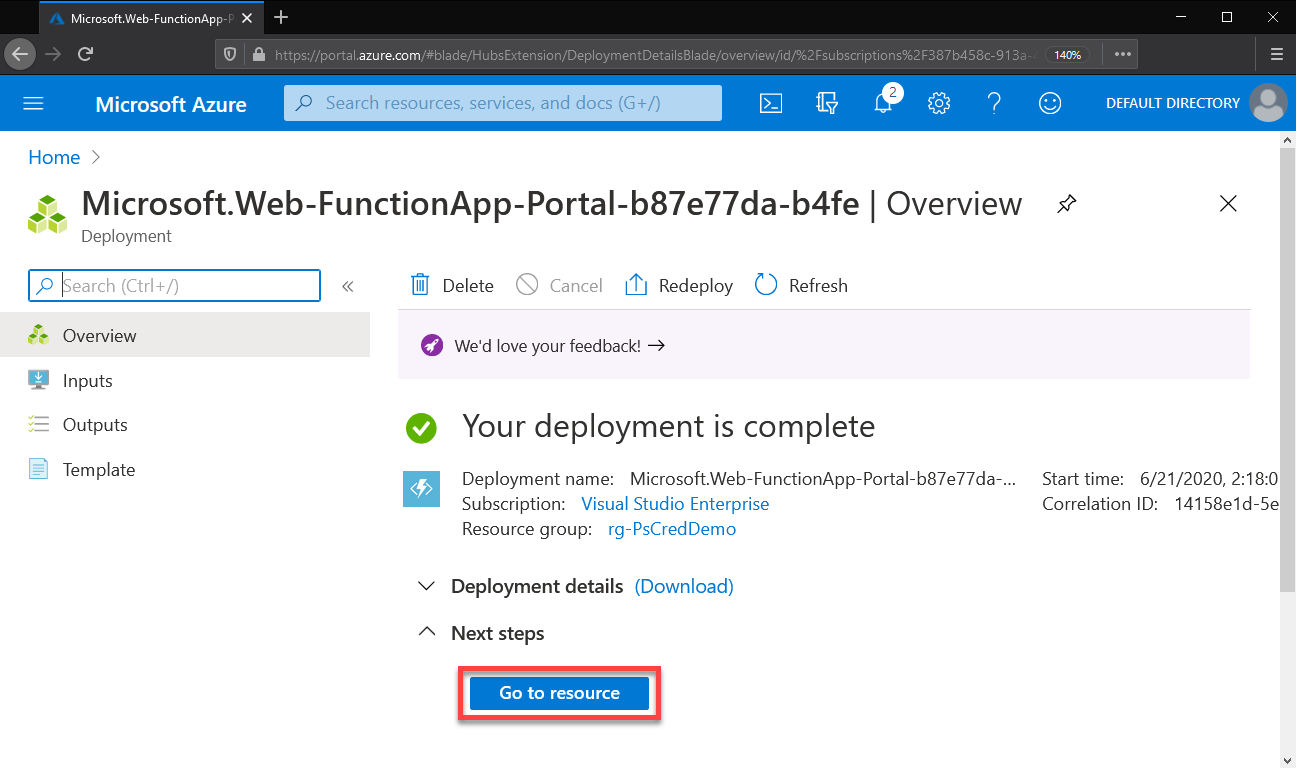
Now sit back and wait for a little bit while your new function is deployed. When it’s finished, you’ll see a “Go to resource” button which will take you directly to your new function.
I Can Haz Creds?
Before we create any code in our function, we’re first going to set it up so that it is able to retrieve credentials stored in our Key Vault.
Start from the main page of our function app. If you’re following on in sequence, you’ll be here after clicking “Go to resource” at the end of the last section, otherwise search for “Function App” again as we did right at the start of this post and choose it from the list of deployed functions.
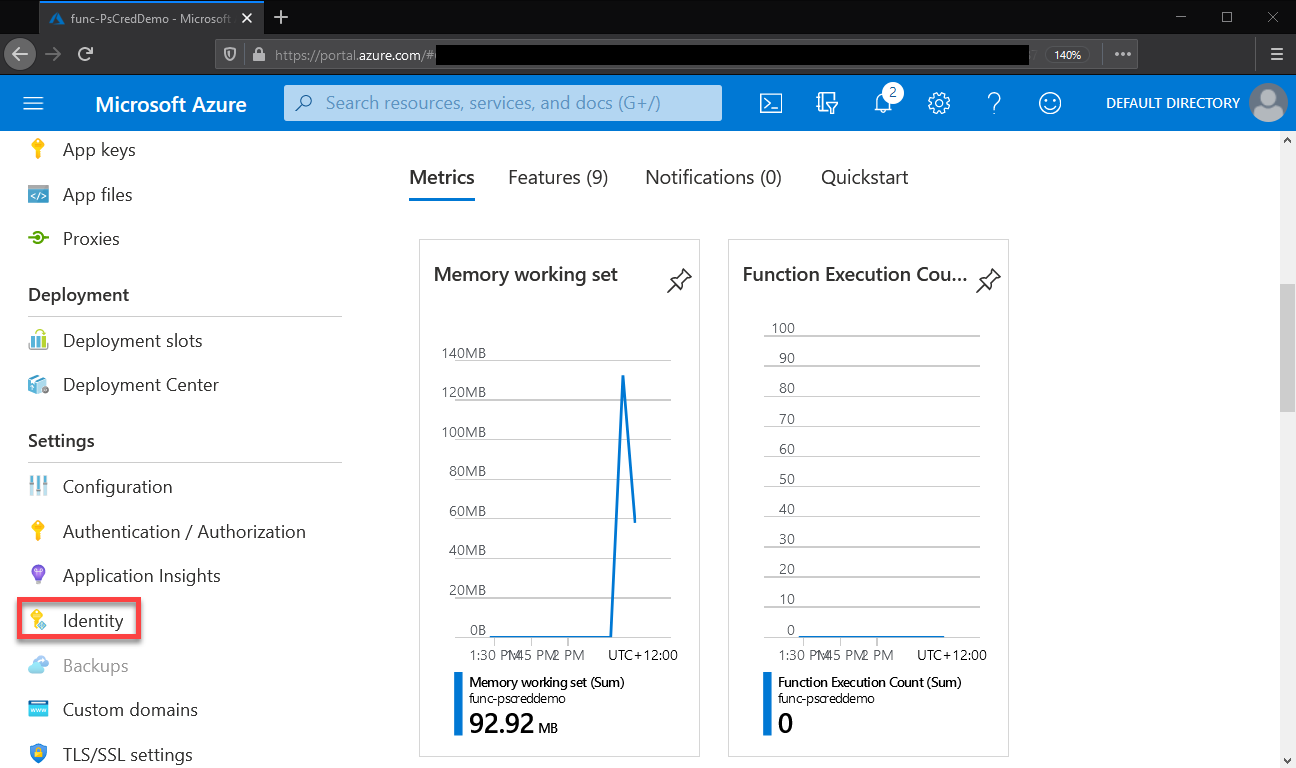
Scroll down until your see “Identity” in the “Settings” section of all the options on the left hand side of the page and click it.
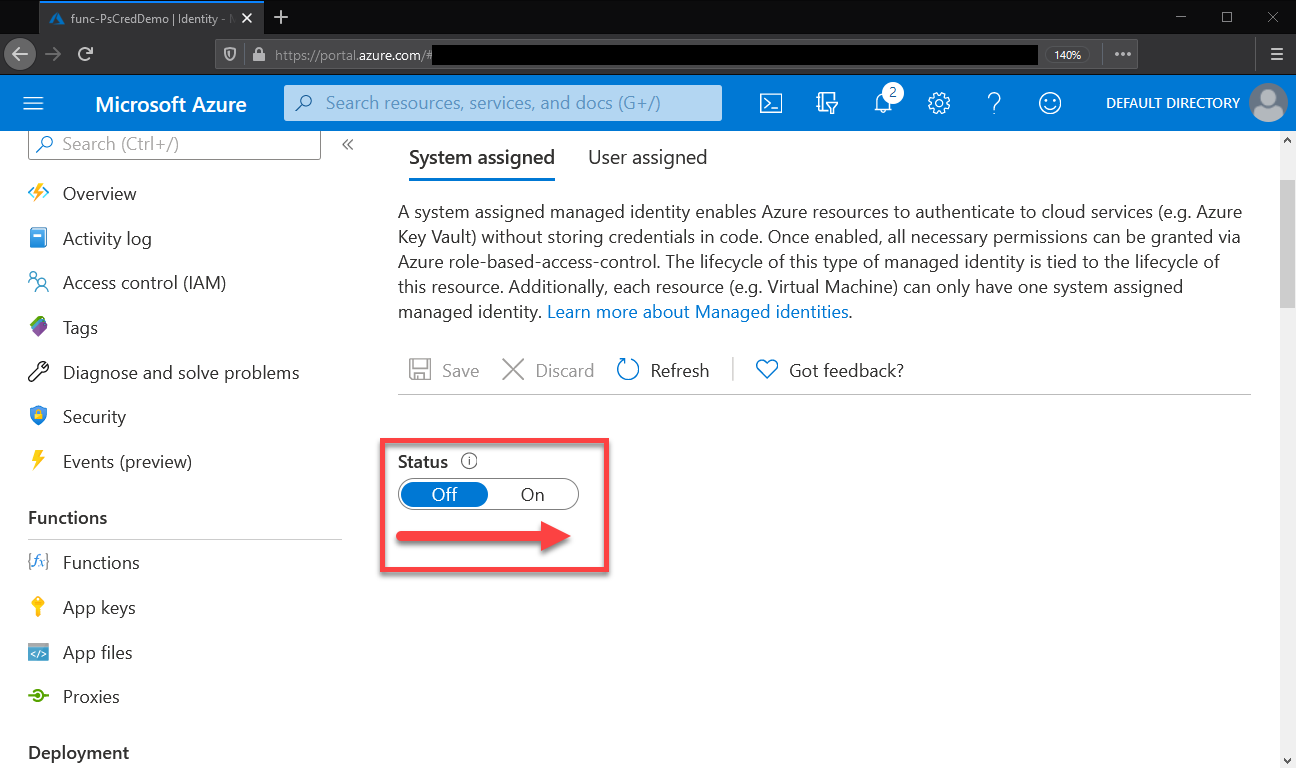
This is where we let Azure know how our function can be referenced across other Azure services. In our case we’ll be telling Key Vault “See this function? It’s ok to let it get access to our secrets.”
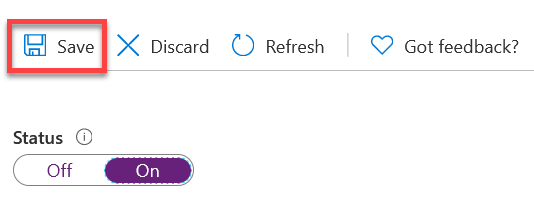
If you’re comfortable setting up app registrations, you can go to the User assigned tab, but we’ll be sticking to System assigned here. All we have to do to get a system assigned identity is toggle the status to “On”.
Do make sure you click Save after toggling it though. Save yourself an hour of troubleshooting because you did what I do every time and forget to click that one button.
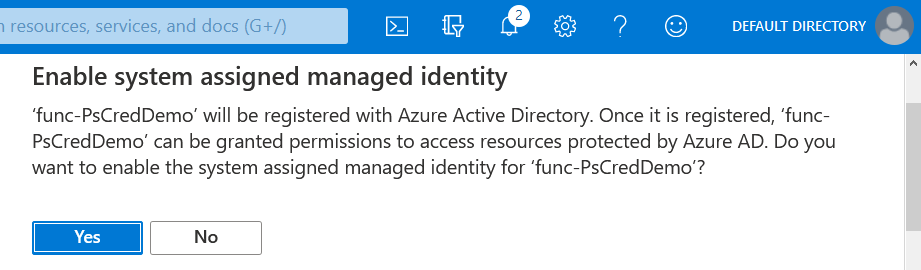
You’ll know you’ve done it right because you’ll get a confirmation asking if you’re ok with a managed identity being created in Azure AD (you want to click Yes.)
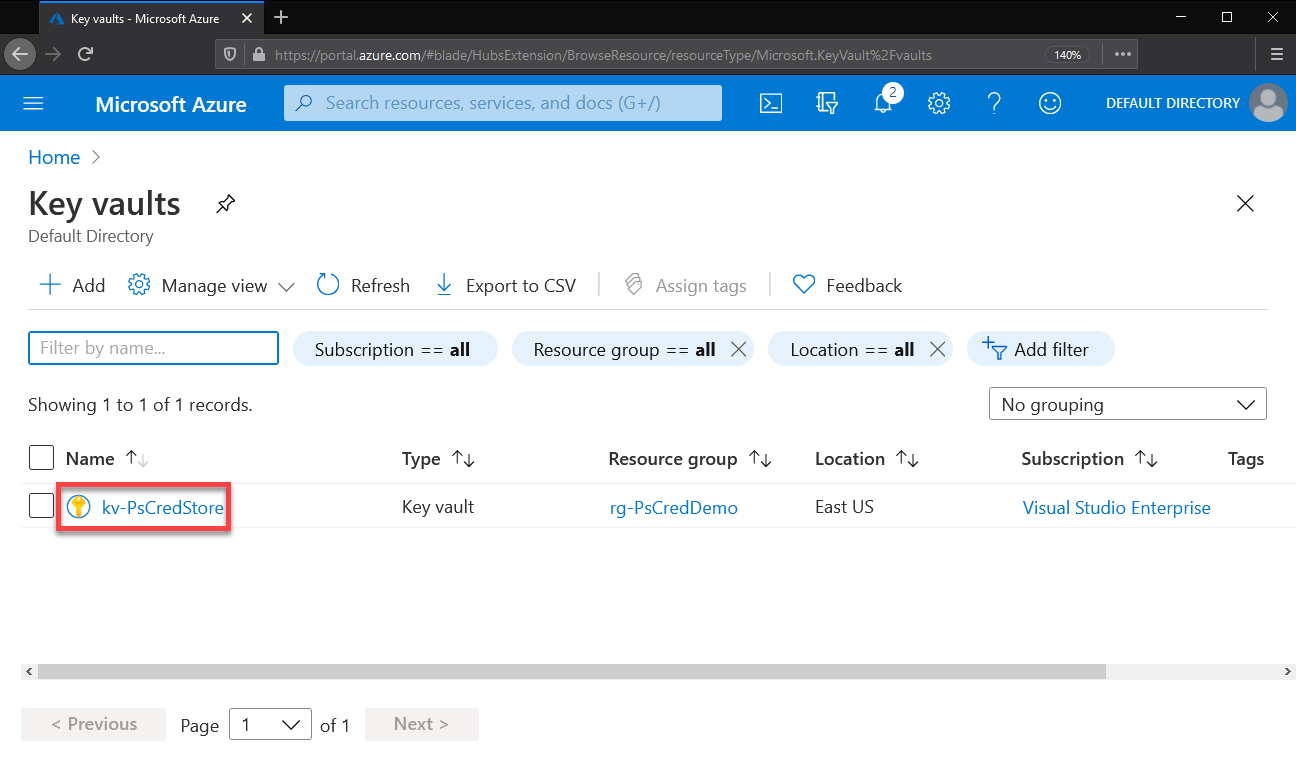
With that done we need to head over to our Key Vault. Search for it and choose it from the list of resources.

Pick the vault from the list. The one created for this demo was “kv-PsCredStore”.
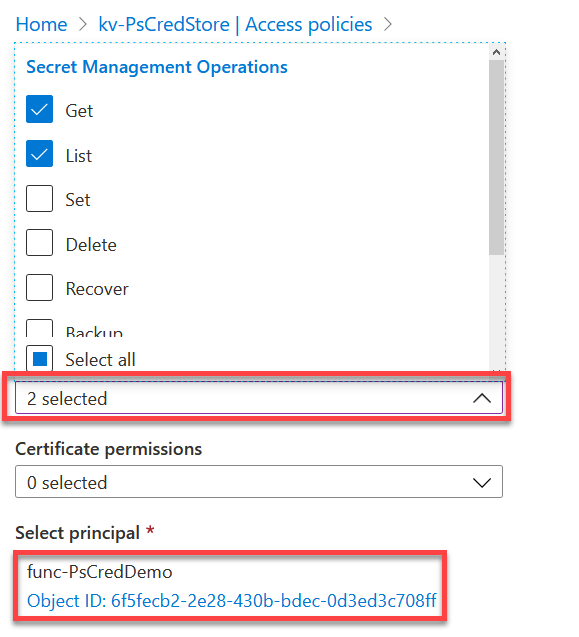
Once you’re there head straight into the Access policies settings and add a new policy.

To create your access policy, you need to select the principal (your function app) and what permissions you want to give it. In this example I only want the function to be able to list and retrieve secrets (but not certificates or keys) so I only give it those two permissions.
Scrolls down and hit Add once you’ve done configuring your policy.
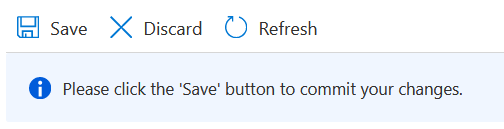
Once again, make sure you click save when you get back to the main Access policies page! It’s easy to miss and if you don’t do it the change won’t take effect.
Using the Creds
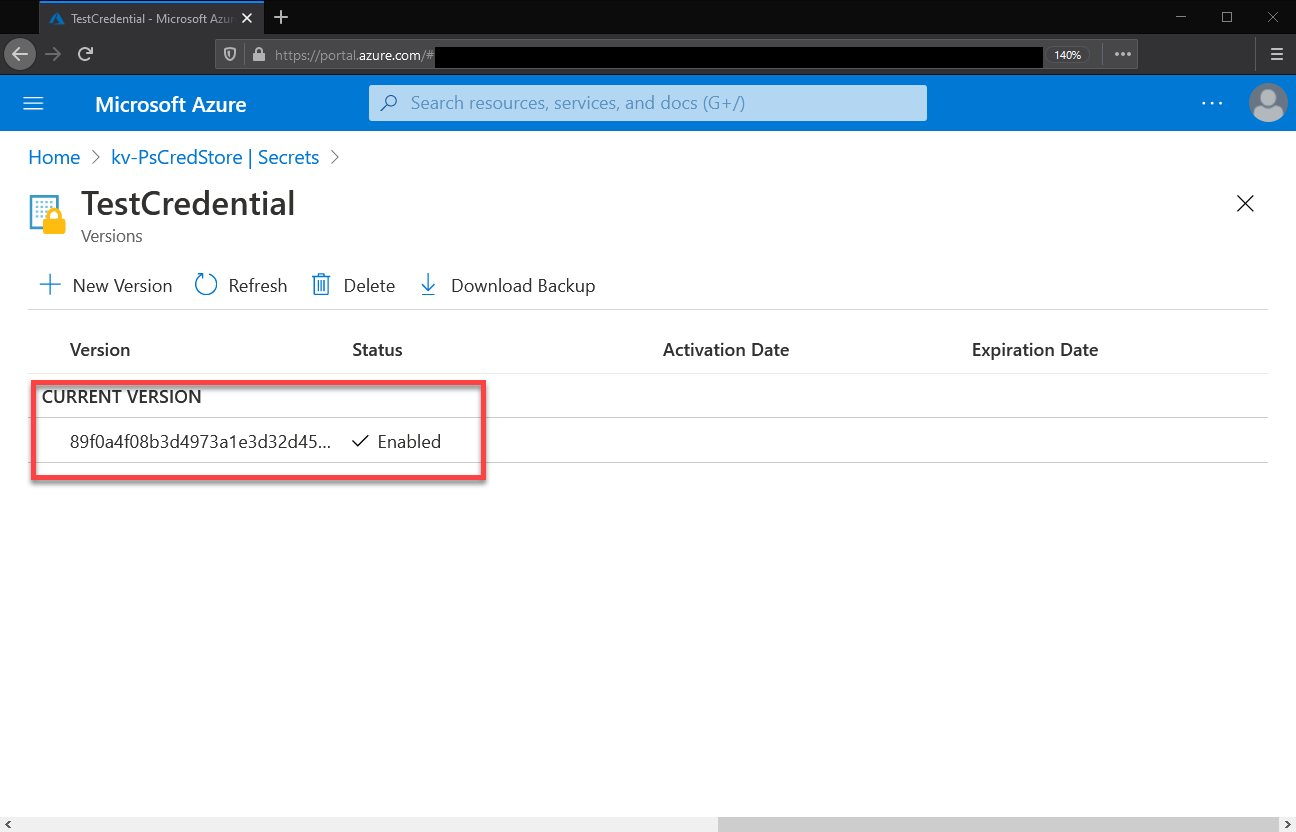
Before we head back to our function app, we need some details about the secret we’re going to be using. Head into the Secrets section and choose the PSCredential we created in part one.
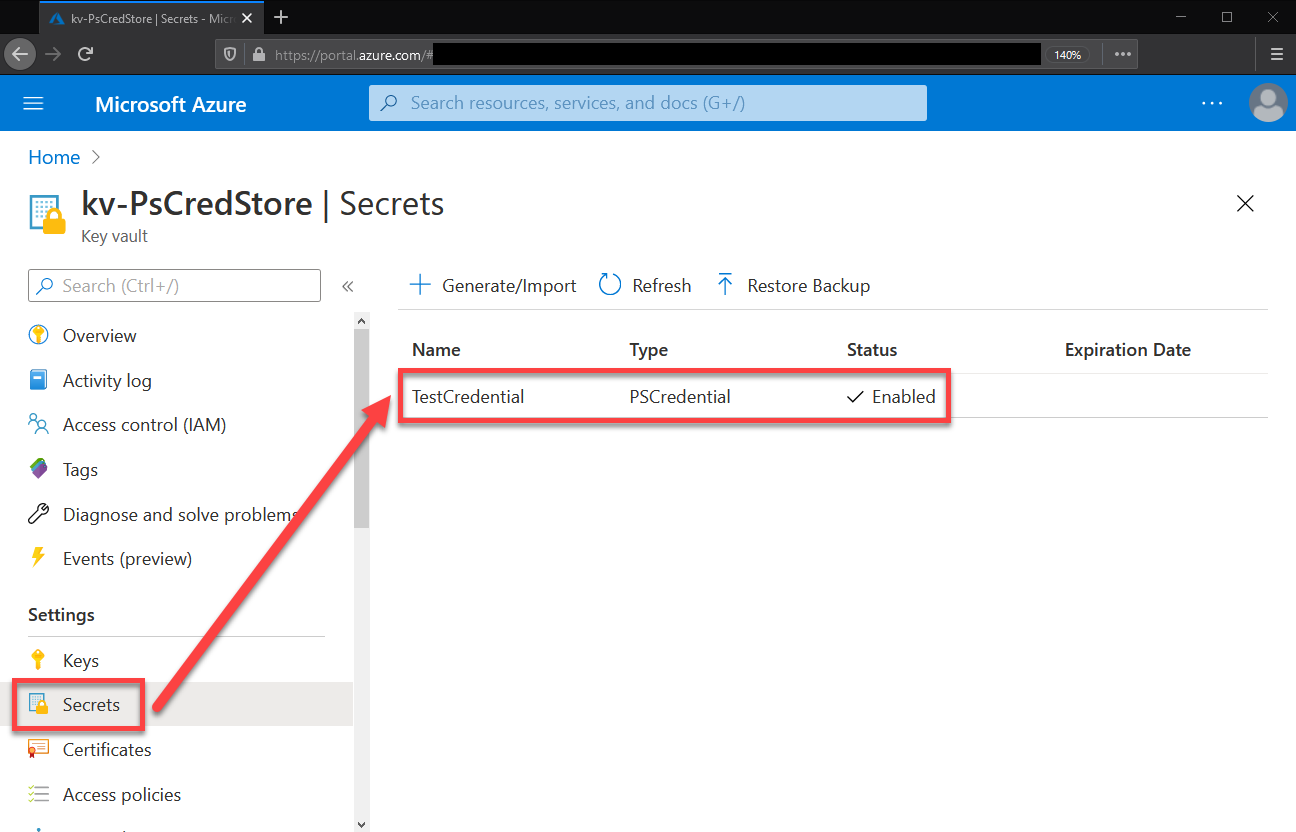
You’ll then see a list of versions (possibly only one) click on the current version to open it.
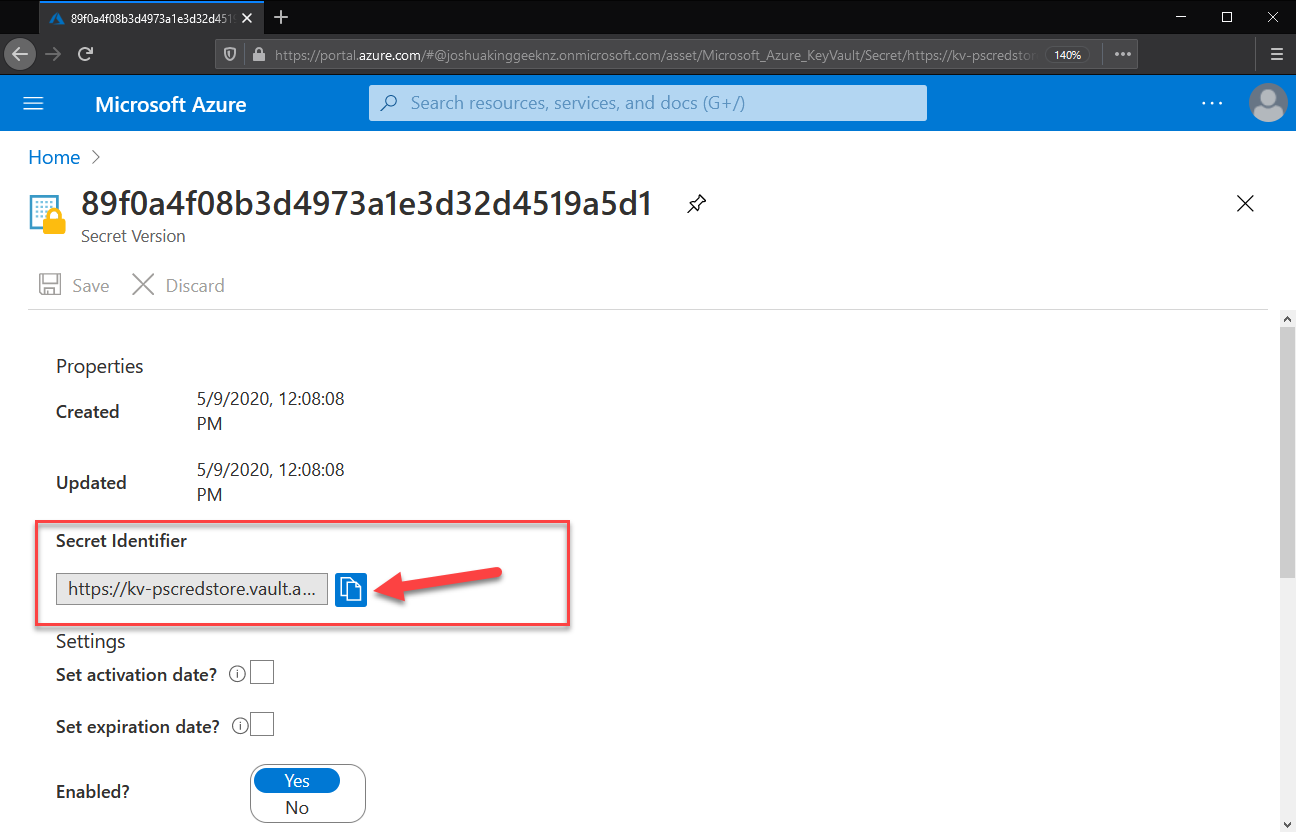
Once you’re into a specific version, you’ll see a Secret Identifier field which is really just a URL. You’ll need to take a copy of this and keep it available for later.
In my example this is: https://kv-pscredstore.vault.azure.net/secrets/TestCredential/89f0a4f08b3d4973a1e3d32d4519a5d1
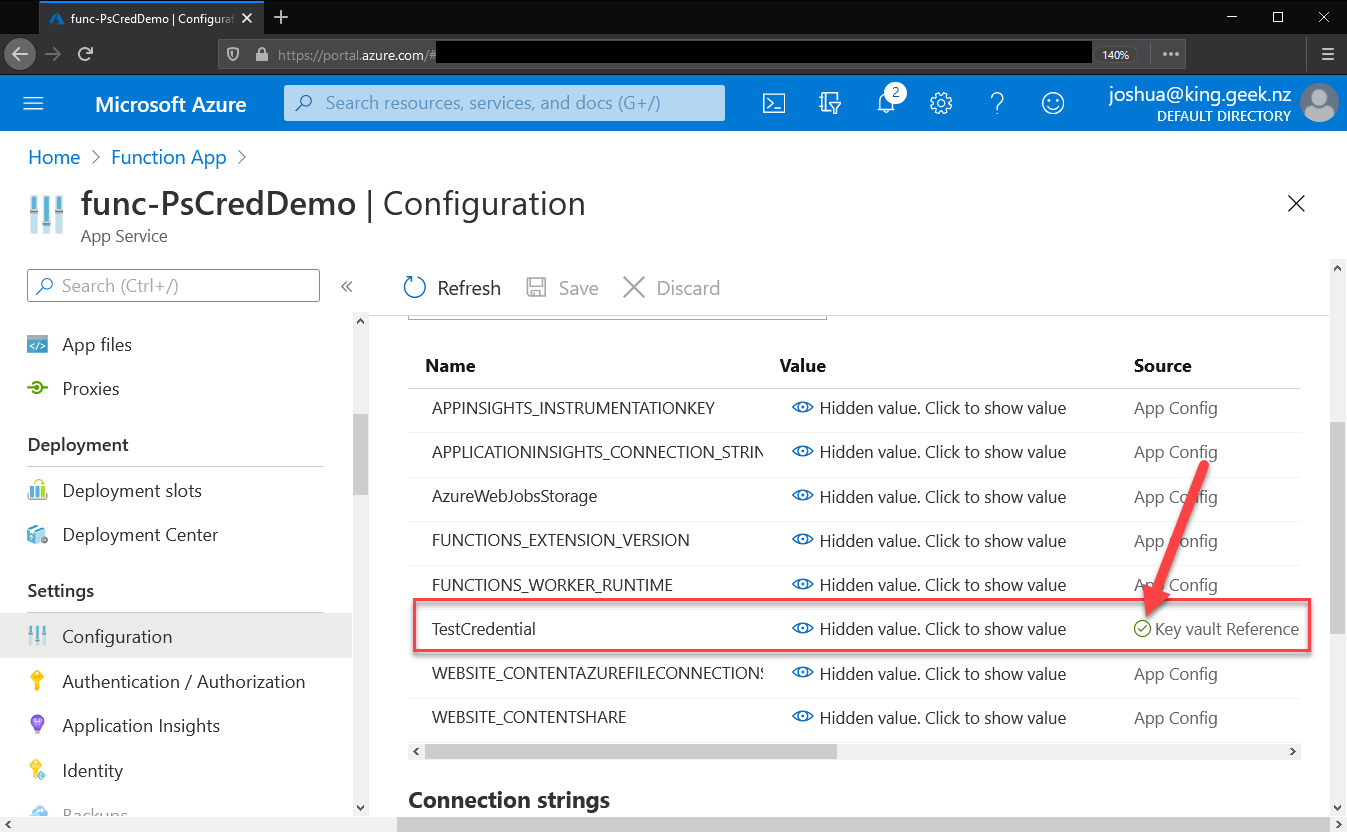
Now, head back to our function app. Head down to the Configuration setting and choose to add a new application setting.
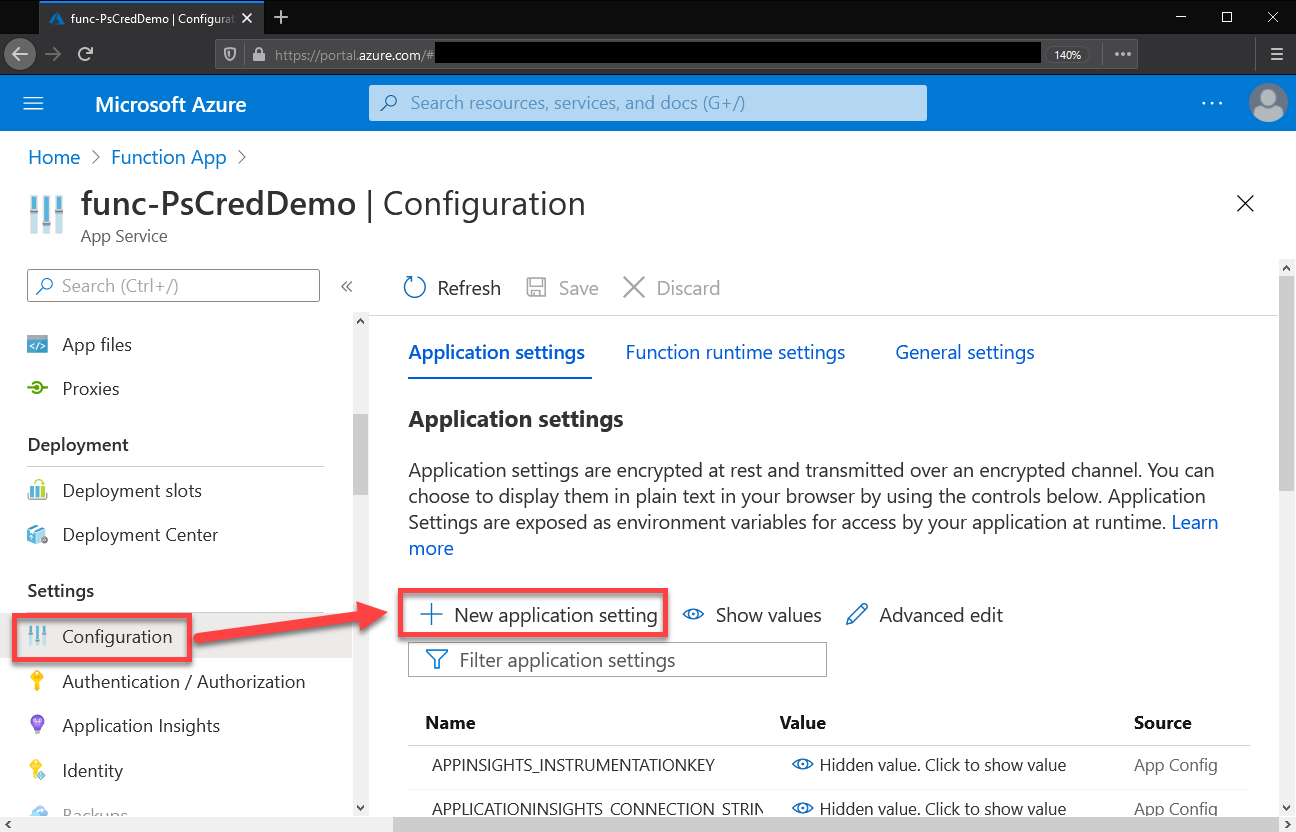
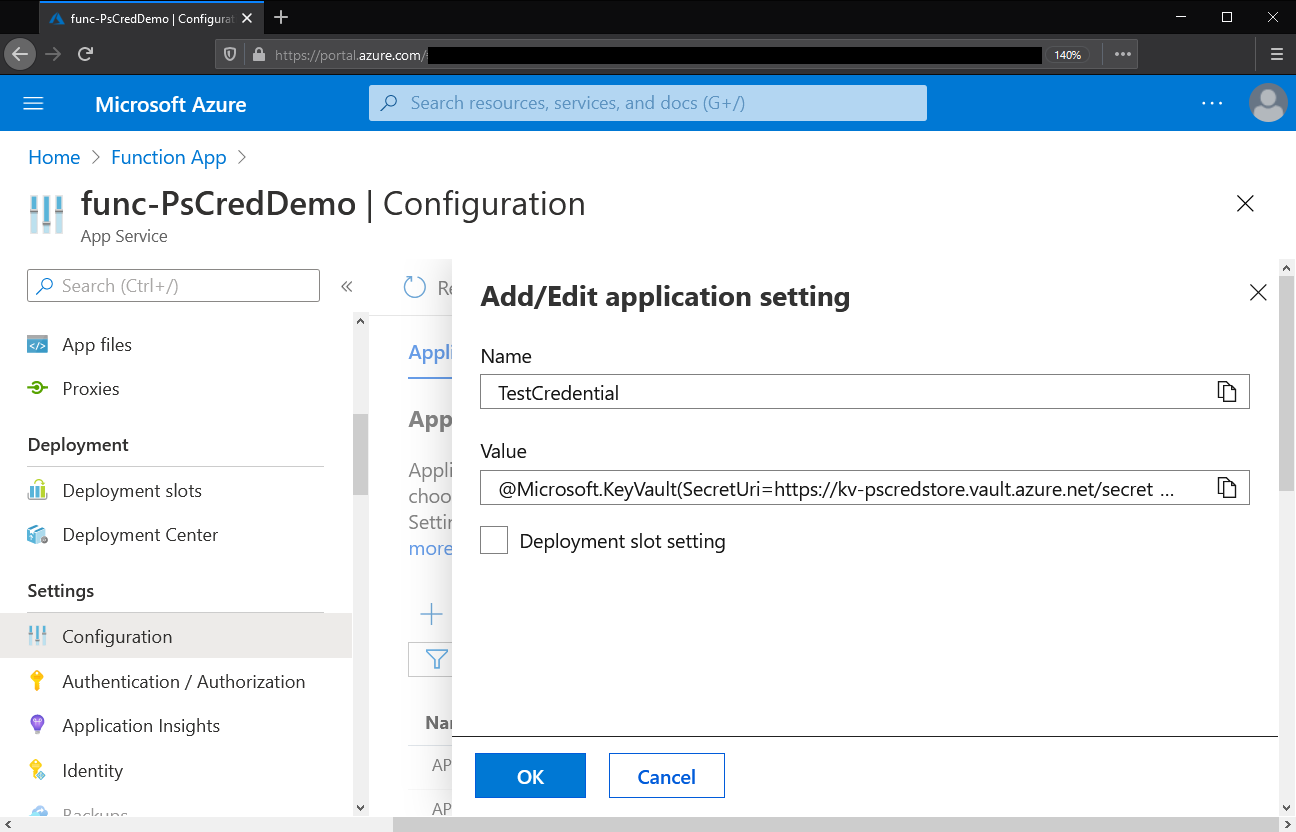
You can give this setting any name, though I will call mine “TestCredential” to make it match the name of the Key Vault secret. The value needs to be in the format of @Microsoft.KeyVault(SecretUri=<SECRET_IDENTIFIER>) so for me it’ll be:
@Microsoft.KeyVault(SecretUri=https://kv-pscredstore.vault.azure.net/secrets/TestCredential/89f0a4f08b3d4973a1e3d32d4519a5d1)
Back on the list of application settings, click the Save and then Refresh buttons. You’ll know it’s worked because your setting will show “Key Vault Reference” in the source column with a green check mark.
Actually Using the Secret
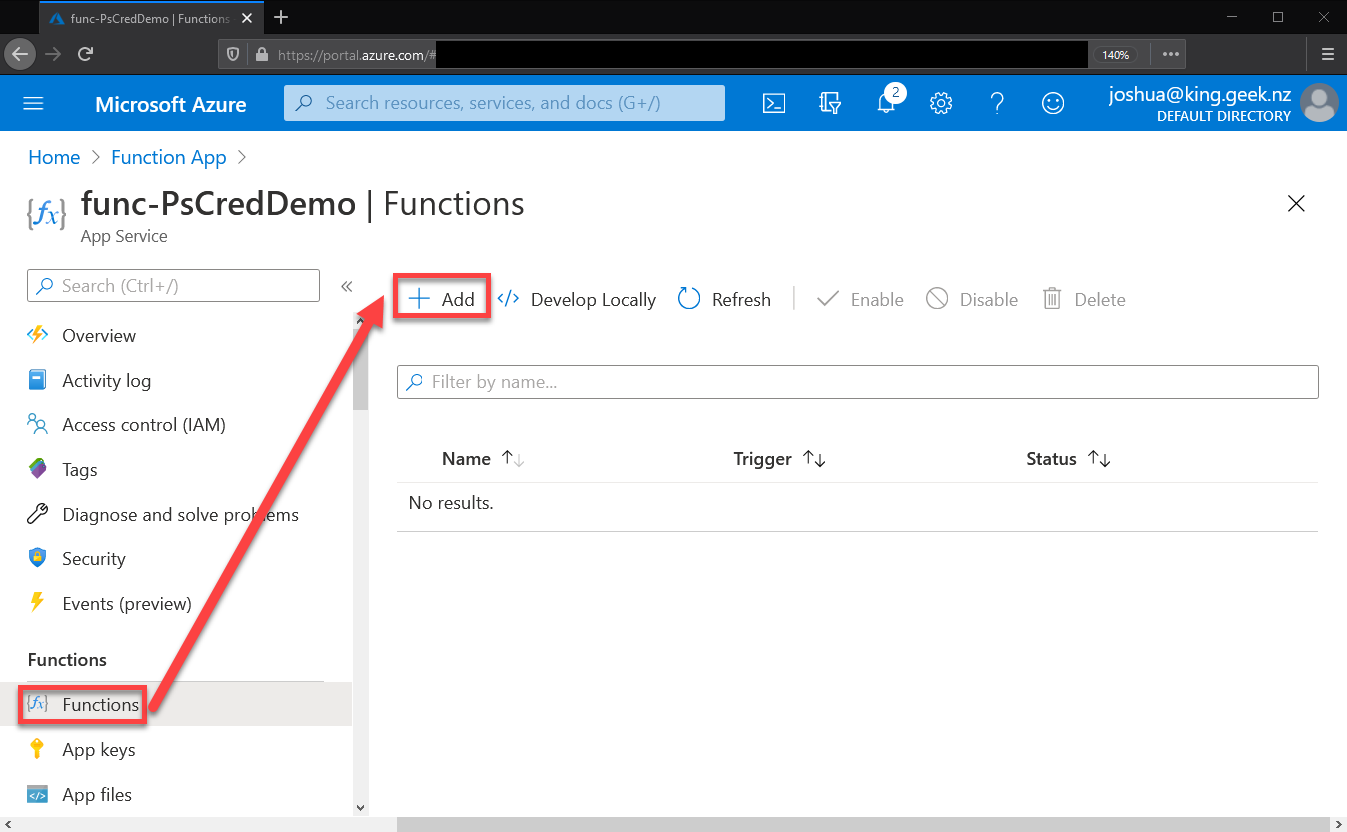
We’ve done a lot of setup, now it’s time to put this to work. On your function apps page, head into the functions section and click add.
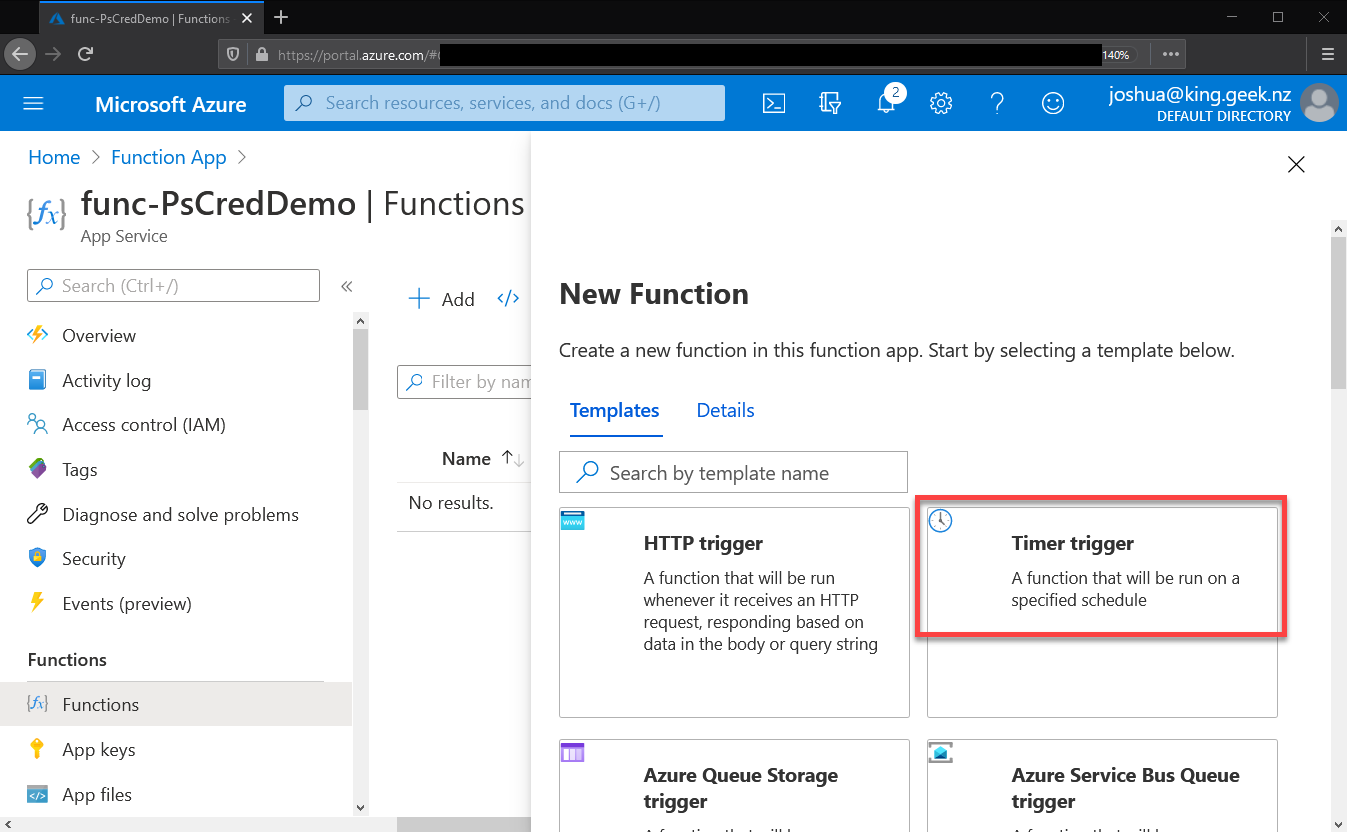
We’re going to keep things simple here and get to the point where we’re interacting with our credential secret as fast as possible. With that in mind we’ll use a timer trigger template.
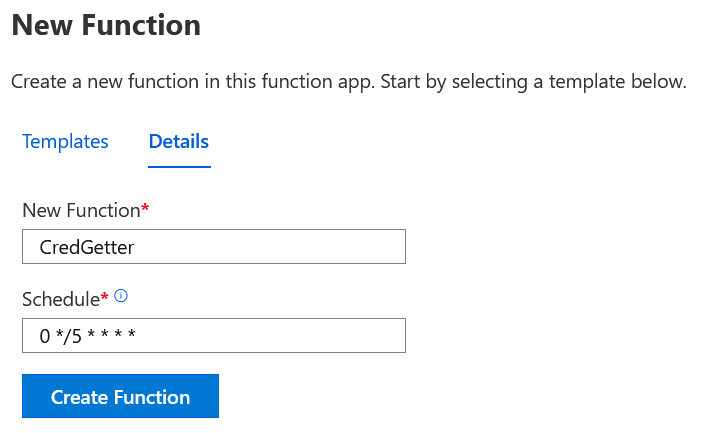
Give this function a name, I’ve called mine CredGetter. The default schedule means the function will run every five minutes and I’ve left this as is.
Once the function has been created, head into Code + Test to edit the PowerShell behind the function.
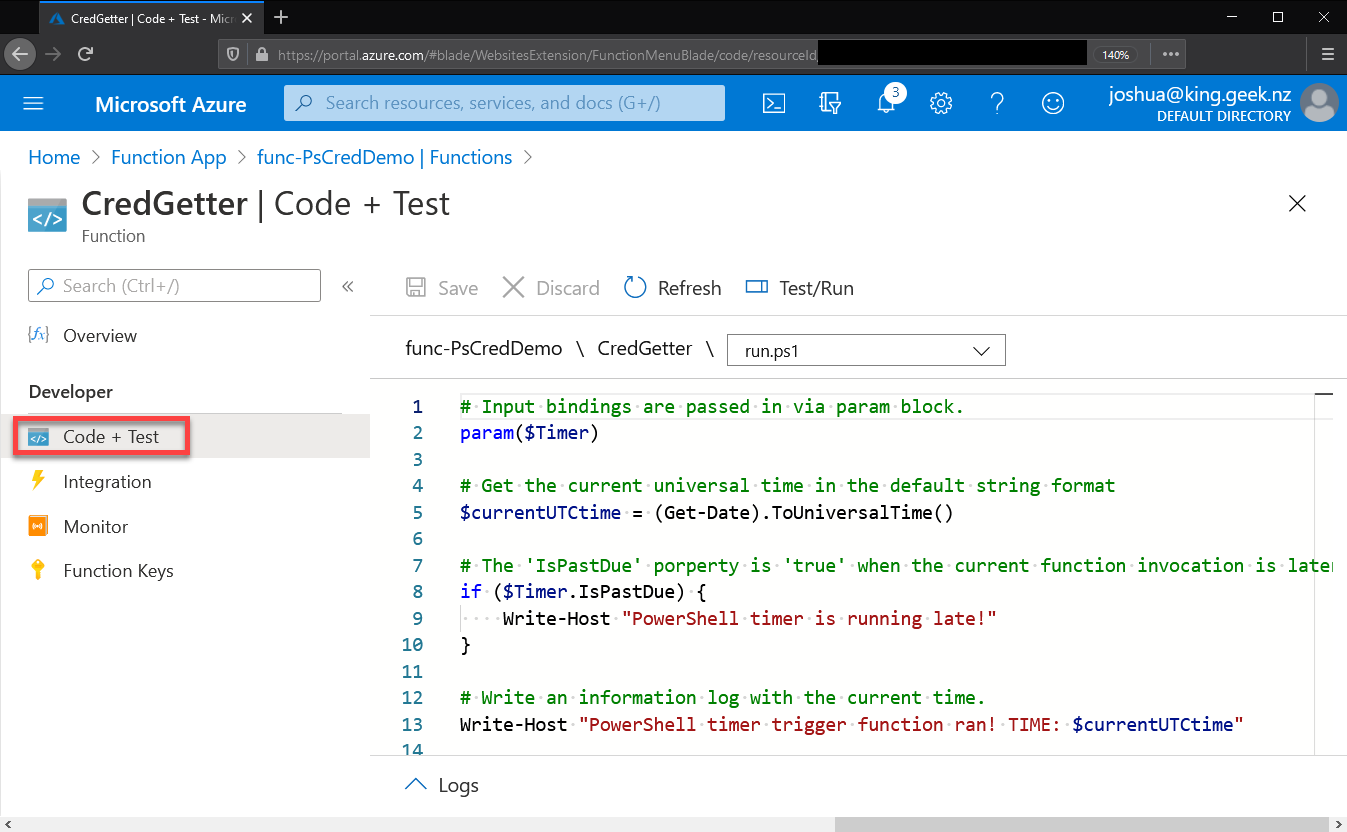
I left all the template code intact, and added the following at the end:
$Cred = New-Object System.Management.Automation.PSCredential (
    ($env:TestCredential -Split "`v")[0],
    (ConvertTo-SecureString ($env:TestCredential -Split "`v")[1] -AsPlainText -Force)
)

Write-Host "The Key Vault secret username is: $($Cred.UserName)"
Write-Host "The Key Vault secret password is: $($Cred.GetNetworkCredential().Password)"
Save after you’ve added this code and then you can either wait for this function to run on its timer or click the Test/Run button to trigger it manually. Eventually you’ll see output in the log pane towards the bottom of the page. As you can see you credential was retrieved and contains the data I set in it in part 1.

n.b. you might need to refresh the page in order to see updated log output. Be patient.
But how did that work? That application settings can be accessed in our PowerShell script as an environment variable. We called ours “TestCredential” and I reference that in the script as $env:TestCredential which goes off to Key Vault and pulls back the secret that the application setting references.
Wrap Up
I originally intended on this being a short two-part series. But in writing out this second part I’ve realized that there’s something I want to cover in a third installment. I won’t make any promises when that’ll come out though, there’ll be several unrelated posts between part 2 and part 3.
If you’ve got any questions about this, please do leave a comment on this post, or hit me up on Twitter.
Credit
Hero image by Silas Köhler on Unsplash