If you’re not aware, I’ve recorded a bunch of videos for Adam Bertram’s new learning resource/platform TechSnips. Most of these videos were done prior to the service going live in early June and since then the number of contributors has expanded quite a lot.
I’ve had some questions about my setup from those just getting into recording, or getting in a submission. The aim of this post is to document my environment, settings, and workflow with the hope that it can help those wanting to become TechSnips contributors (or heck, even those wanting to get into YouTube or livestreaming.)
Environment
This is one part of my recording setup where I’m pretty lucky, and helps to mask some of the issues I imagine I’d have with my other kit.
The room in which I record is carpeted, the walls are covered in textured wallpaper, and perhaps best of all my “office chair” is actually a large arm chair. All of this means there isn’t much echo around the room and a lot of it is absorbed.
I’ve heard stories of people trying to record in rooms with hard wood floors or loud air conditioning. In these situations you can try blankets to absorb some sound… or even using a closet as a makeshift sound booth.
Equipment
I have aspirations to get a better microphone as I continue to contribute to TechSnips. For now, I’m using a Corsair Vengeance 2000 gaming headset that I’ve owned for many years.
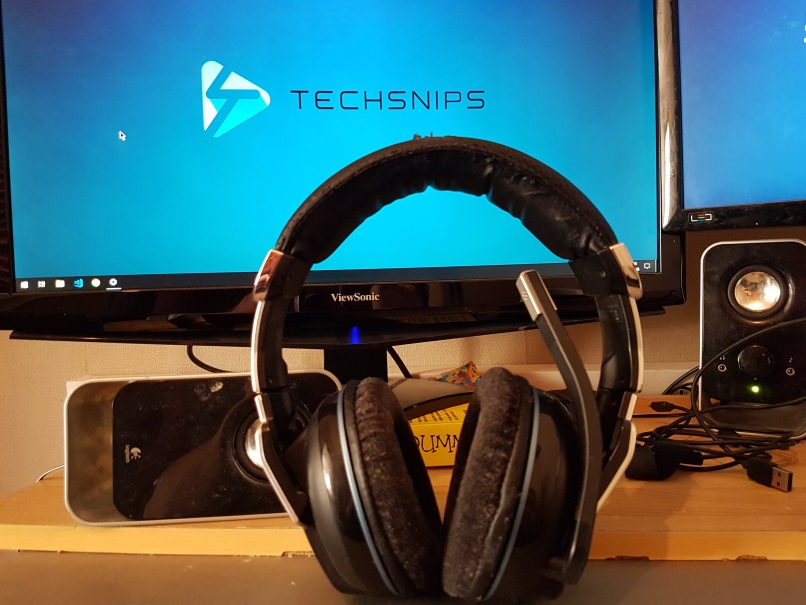
I’ve had to take these things apart to resolder wires to one of the ears and tighten the tension on the boom arm. Sometimes the drivers need to be reinstalled to get the wireless receiver working, and I always have to do a test recording when I sit down to start a session, as sometimes it all connects but my voice sounds like a robot.
I don’t like having my mic on a boom mounted to my head, so when I do finally replace it I’ll be getting something with a desk mounted arm and shock mount. I’m still weighing up the different microphone options, high-end USB vs. low-end XLR, etc. That’s still up in the air and this headset will still do the job for now.
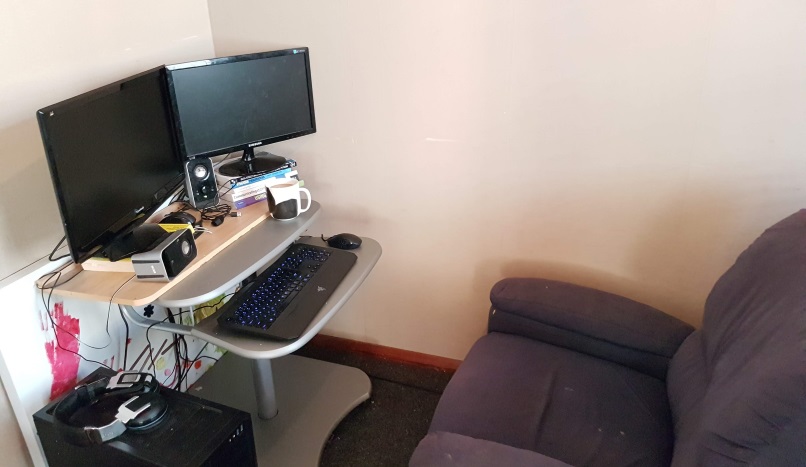
As for the rest of the stuff on my desk, the main things for me are having two monitors. I’d prefer a third… but I really don’t have the space at the moment. Having two monitors is an absolute minimum in my opinion. It allows you to have a monitor dedicated to your “stage” (i.e. what you’re recording) and the other one can have your notes (or script if that’s your thing) and your recording software so you can make sure it’s working as you expect.
The final thing I’ll touch on is keyboard. I’m a mechanical keyboard person. Give me Cherry MX Brown or Black switches and I can type almost silently. Currently however, I’m using a Razer Deathstalker Chroma (My ISP was giving them away for free on their Gigabit fibre plans.)
This thing is on the way out, some keys require a lot of force, and you can hear every keypress in my recordings.
Future plans include replacing the keyboard, however I’m not in a rush. I’m fairly certain a good clean will unstick the keys for a while longer and a new microphone will minimize the noise.
Software
I’ve tried Camtasia, and didn’t really gel with it. For whatever reason when the videos I created using it went through the TechSnips editing workflow my audio wasn’t as good as it normally was.
OBS Studio is my recording software of choice. I cut my teeth on this software when livestreaming to livecoding.tv and YouTube, so transitioning to recording was simply hitting a different button.
OBS Configuration
If you’re wanting to try OBS yourself, I figure it may help if I go through some of the configuration.
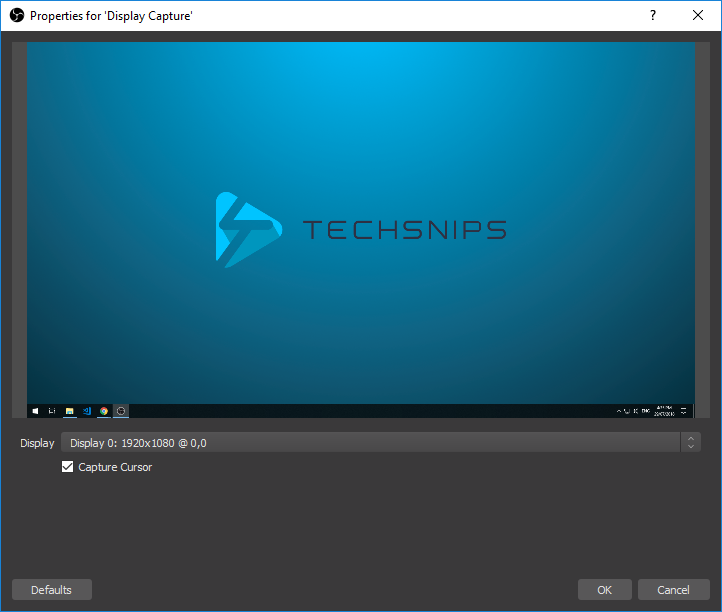
The first thing you’ll need is to add a source, click the plus in the “sources” box and choose display capture. Give it a name and click OK.

Double click this new source to configure it, basically just choose which screen you’ll be recording and make sure you’re capturing the cursor (remember this is something that you can turn off if the recording would benefit from not seeing the cursor while you still need to use it for whatever reason.)
Now head into the settings, then go to the Video options. make sure the two resolutions options are set to the native resolution of your display. OBS can scale the resolution… but you’ll get much better results from keeping it all to scale.
For TechSnips you should aim to record at 1920x1080. If you can’t do that, the minimum is 1600x900.
Also, you could turn up the FPS here, but for something that is mainly going to be text I don’t personally consider there to be a point in going above 30 frames per second.
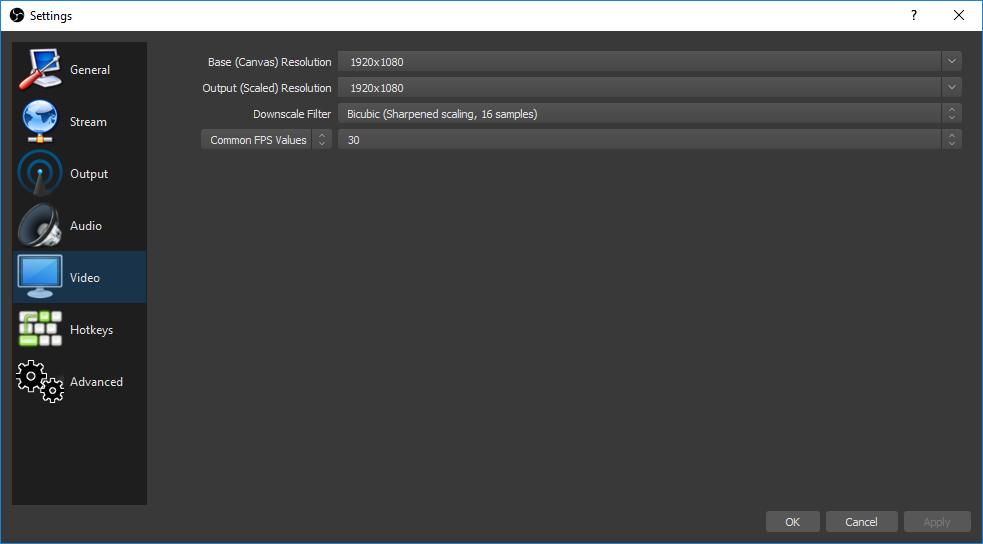
On the Output section, in the Recording group. Make sure the Recording Format is FLV. OBS can record directly to MP4 (the required format for TechSnips)… but this has never worked properly for me.
Instead, record to FLV and remux it to MP4 when you have a recording you want to submit. This can be done via the file menu of OBS.
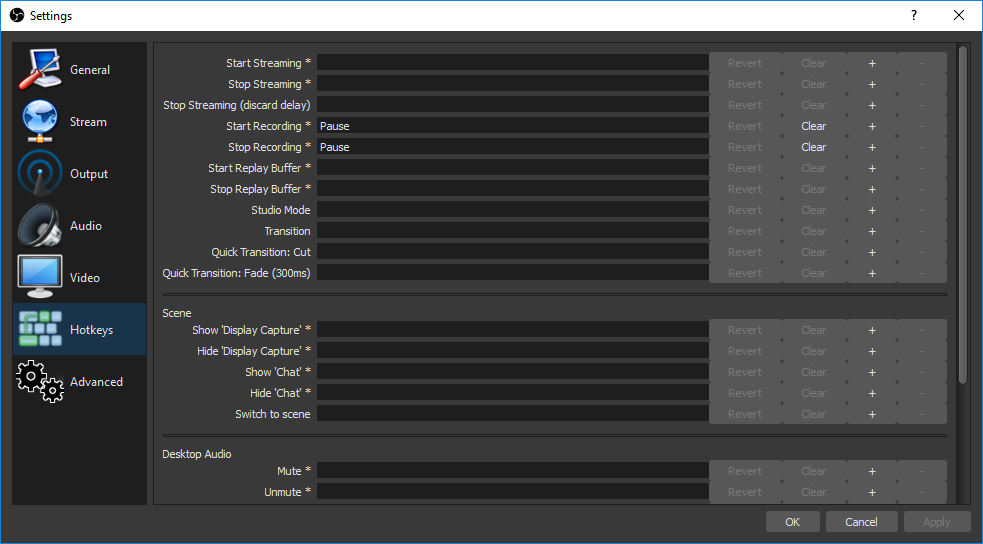
While we’re looking in the settings, you might consider setting a hot key for Start & Stop Recording. This can be the same key for both functions (so it toggles). This means you can have the cursor “on stage” and be able to hit a key to trigger OBS.
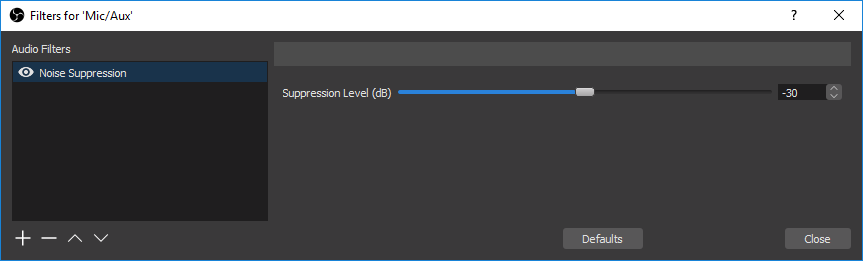
Finally under mixer on the main OBS window you should see your microphone input. Click the cog next to it and choose filters. Experiment with the noise reduction filter. I found that this helps to not record the fan noise of the PC that’s right next to me while recording.
Tips For Easy Viewing
Just like working on a slide deck for a presentation, you’ve got to think about the viewer when recording a video. The phrase for slide decks is “design for the back of the room” meaning that you need to set font sizes and the like such that it’s readable for the person standing at the very back of the room.
You never know how a person will view your video. It could be on a small mobile screen, or on a desktop but not full screen. Do what you can to keep your code, or any text, readable.
How?
The first thing I do is increase the DPI scaling in Windows. This makes all screen elements larger while keeping the resolution at 1920x1080. I play this by ear, depending on the video this will either by 125% or 150%.
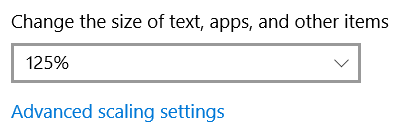
If the application I’m recording doesn’t play well with DPI scaling (I’m looking at you Veeam B&R Console), I’ll reduce my resolution to 1600x900. When doing this, remember to drop the resolution settings in OBS.
Next, pick an easy to read font. I like Hack.
One final note, consider turning off the secure desktop for UAC prompts. This can be done via local group policy. If you don’t, OBS will record a blank screen whenever you get a UAC prompt. This is a pain if you are showing opening an elevated PowerShell prompt (as a specific example I’ve come across many times), and instead of seeing you respond to the prompt the viewer just sees black for a couple of seconds.
What Are You Waiting For?
I’m sure I’m forgetting some tips here. If you’ve got any question, please do hit me up in the comments or over on Twitter.
Hopefully, reading through some tips have shown you how easy it can be to #JustHitRecord, why not sign up as a TechSnips Contributor?